本文只是对腾讯云COS文档的基本操作做了简单的介绍,具体的更详细的内容参考腾讯云官方链接。
其实还有一点,腾讯云文档中可能也有一些错误的地方,本文中对其做了调整。比如下边代码中的region,应该是ap-加上地域的拼音,但是文档中给的却是COS_REGION,容易让人误解。
安装SDK依赖,其他安装方式见腾讯云官方链接。1
pip install -U cos-python-sdk-v5
1 | # -*- coding=utf-8 |
本文只是对腾讯云COS文档的基本操作做了简单的介绍,具体的更详细的内容参考腾讯云官方链接。
其实还有一点,腾讯云文档中可能也有一些错误的地方,本文中对其做了调整。比如下边代码中的region,应该是ap-加上地域的拼音,但是文档中给的却是COS_REGION,容易让人误解。
安装SDK依赖,其他安装方式见腾讯云官方链接。1
pip install -U cos-python-sdk-v5
1 | # -*- coding=utf-8 |
腾讯云”存储痛管理”中的”所属地区”中为中文,在程序里可能需要改写为拼音的大写形式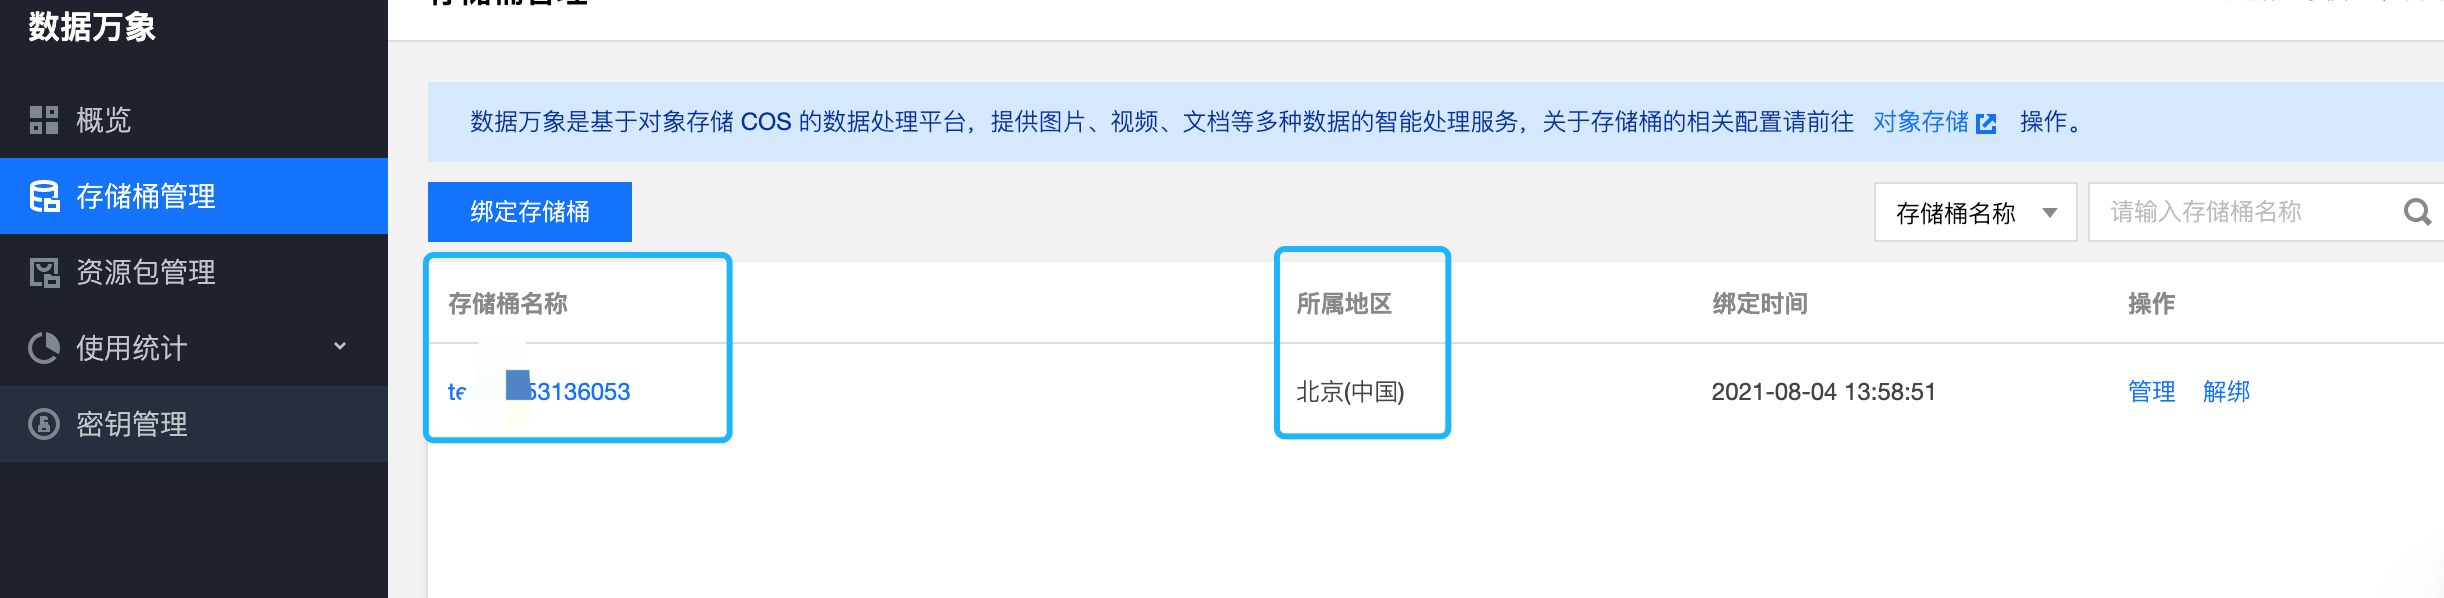
比如1
2
3
4
5
6
7
8
9
10
11
12
13
14
15
16
17# -*- coding=utf-8
# appid 已在配置中移除,请在参数 Bucket 中带上 appid。Bucket 由 BucketName-APPID 组成
# 1. 设置用户配置, 包括 secretId,secretKey 以及 Region
from qcloud_cos import CosConfig
from qcloud_cos import CosS3Client
import sys
import logging
logging.basicConfig(level=logging.INFO, stream=sys.stdout)
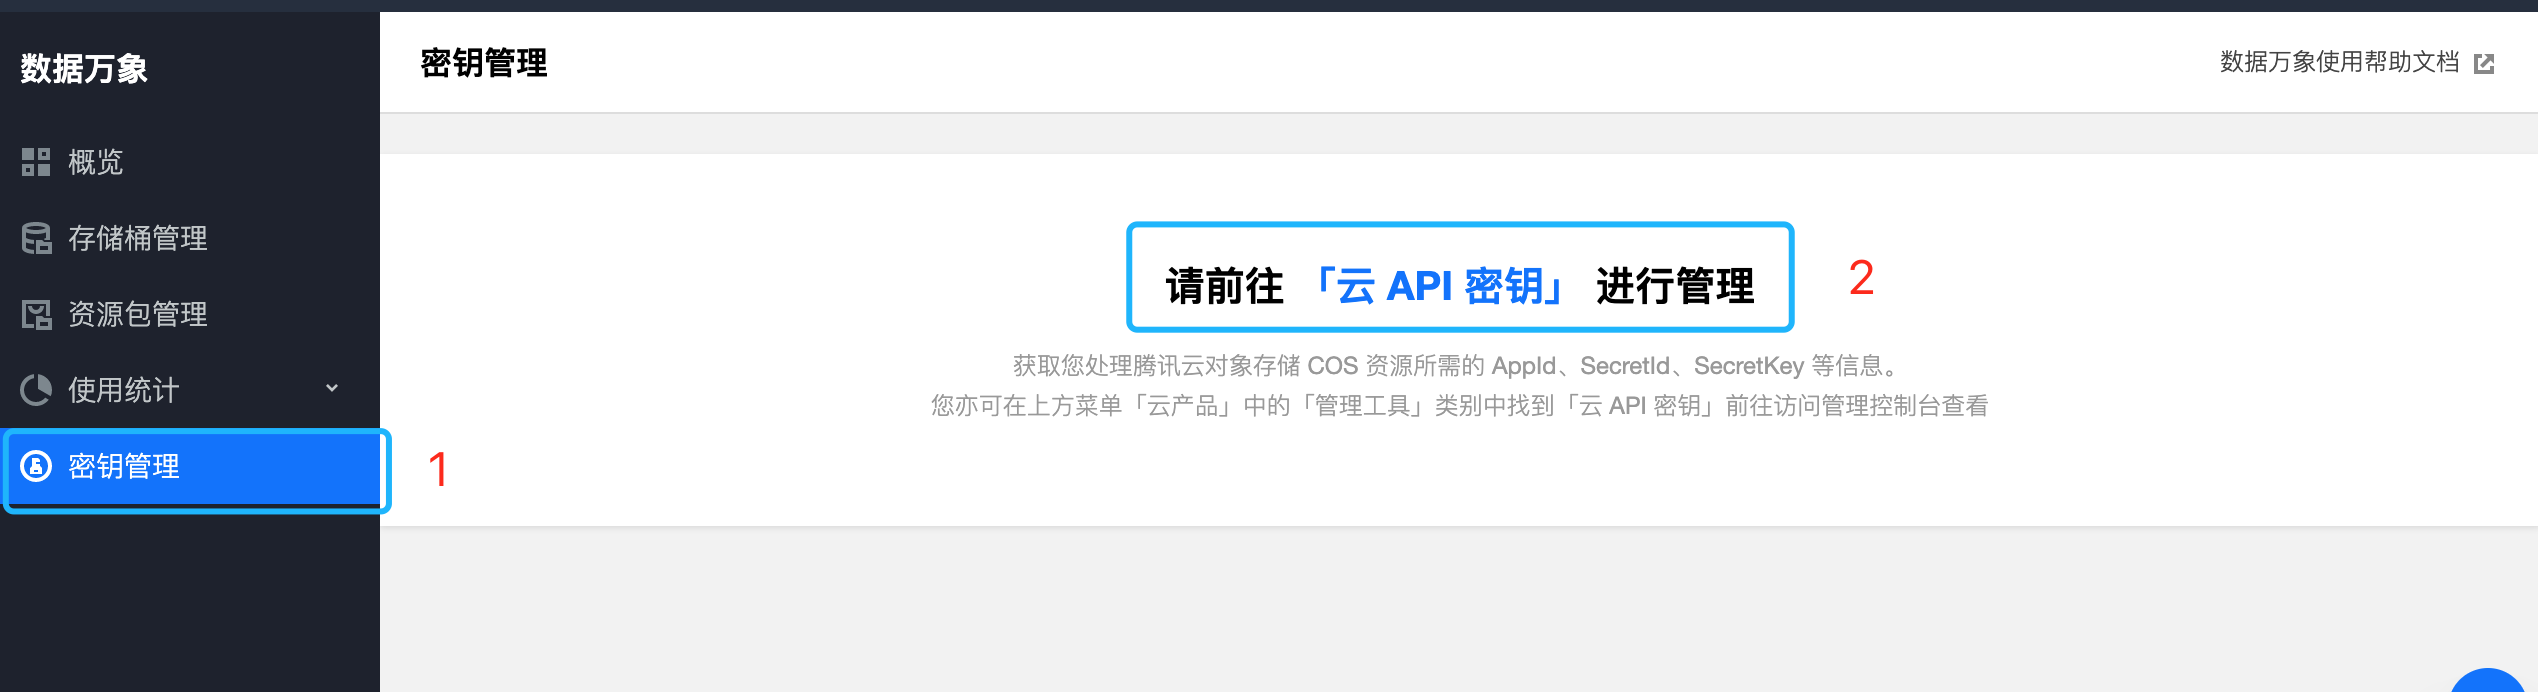
secret_id = 'dsddOHuGL8fwwCFDFSMvEG3Z' # 替换为用户的 secretId(登录访问管理控制台获取)
secret_key = 'xxxEZfU2JL8etrYy7yZuy' # 替换为用户的 secretKey(登录访问管理控制台获取)
region = 'ap-beijing' # 替换为用户的 Region ,腾讯云"存储痛管理"中的"所属地区"中为中文,在这里需要改写为拼音的形式,并且使用ap-前缀
token = None # 使用临时密钥需要传入 Token,默认为空,可不填
scheme = 'https' # 指定使用 http/https 协议来访问 COS,默认为 https,可不填
config = CosConfig(Region=region, SecretId=secret_id, SecretKey=secret_key, Token=token, Scheme=scheme)
# 2. 获取客户端对象
client = CosS3Client(config)
# 参照下文的描述。或者参照 Demo 程序,详见 https://github.com/tencentyun/cos-python-sdk-v5/blob/master/qcloud_cos/demo.py
有一种比较成熟的热图技术heatmap.js,通过不同的颜色来标记不同位置(页面上的坐标点)的访问频率,但是不能够标识出页面上某个元素,比如链接,图片的点击次数。
官网地址https://www.patrick-wied.at/static/heatmapjs/
git地址https://github.com/pa7/heatmap.js
使用demo参考 https://blog.csdn.net/Jermyo/article/details/110561098
给当前页面的window对象添加一个事件监听器。
在用户点击的时候,上报被点击元素的信息(主要包括url和element path等)。
在展示的时候,计算每个节点的点击PV和UV,并通过元素outline的宽度展示元素的点击量,当鼠标移动到某个元素上时,会出现tip提示框,显示具体的PV和UV数据。1
2
3window.addEventListener("click", function(e){
console.log(e.target.tagName);
});
http://www.hohode.com/2018/02/13/Nginx%E7%9A%84%E5%AE%89%E8%A3%85/
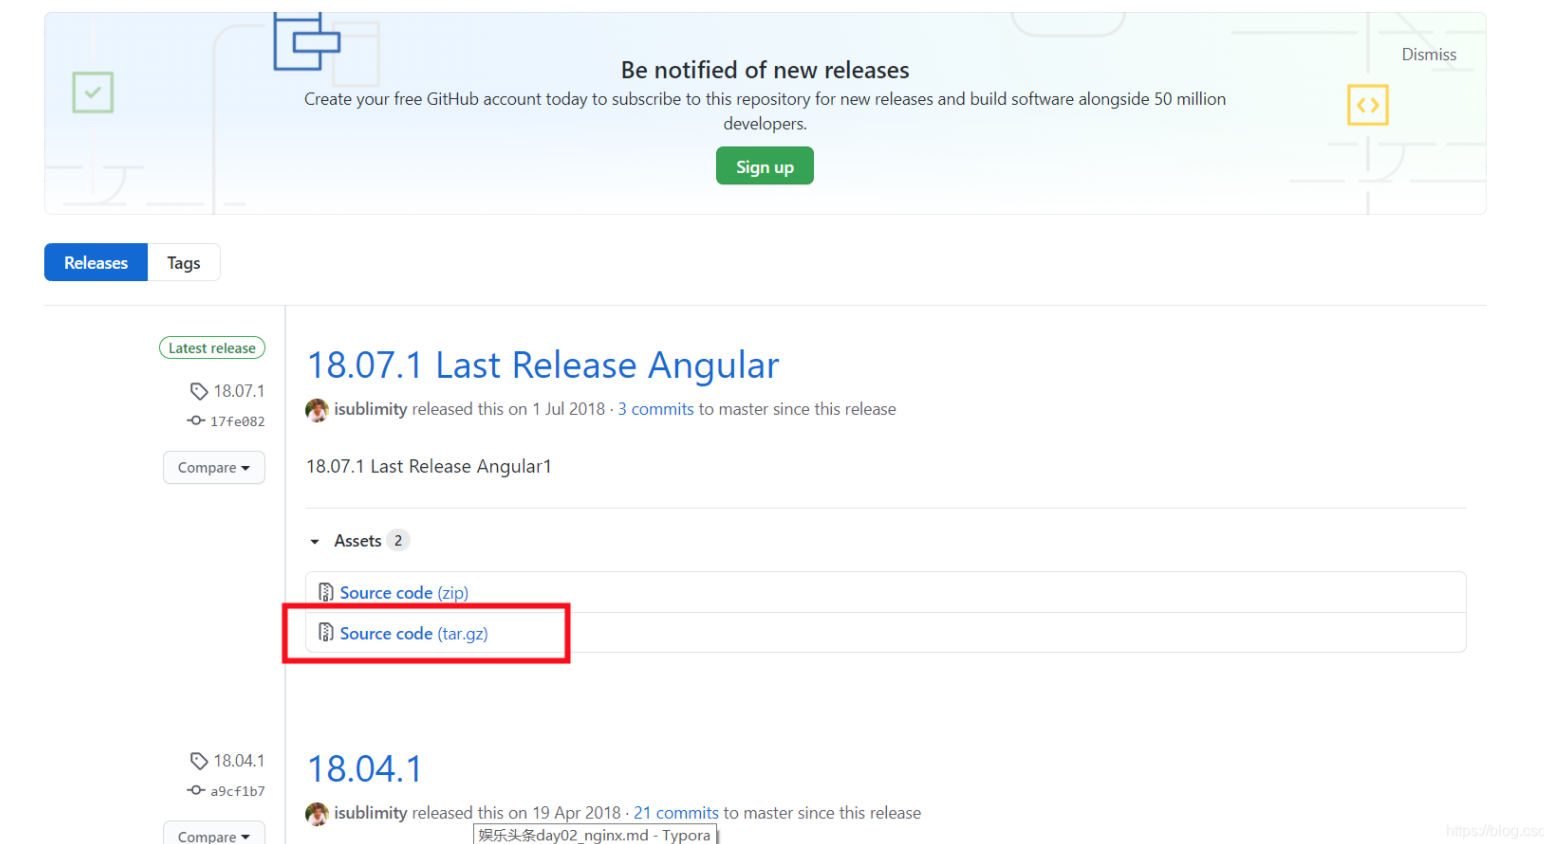
1 | tar -zxvf tabix-18.07.1.tar.gz |
1 | vim conf/nginx.conf |
替换成以下内容,注意要更改root地址
1 | worker_processes 1; |
1 | sbin/nginx |
注意将126.21.18.61替换为自己服务器的ip地址
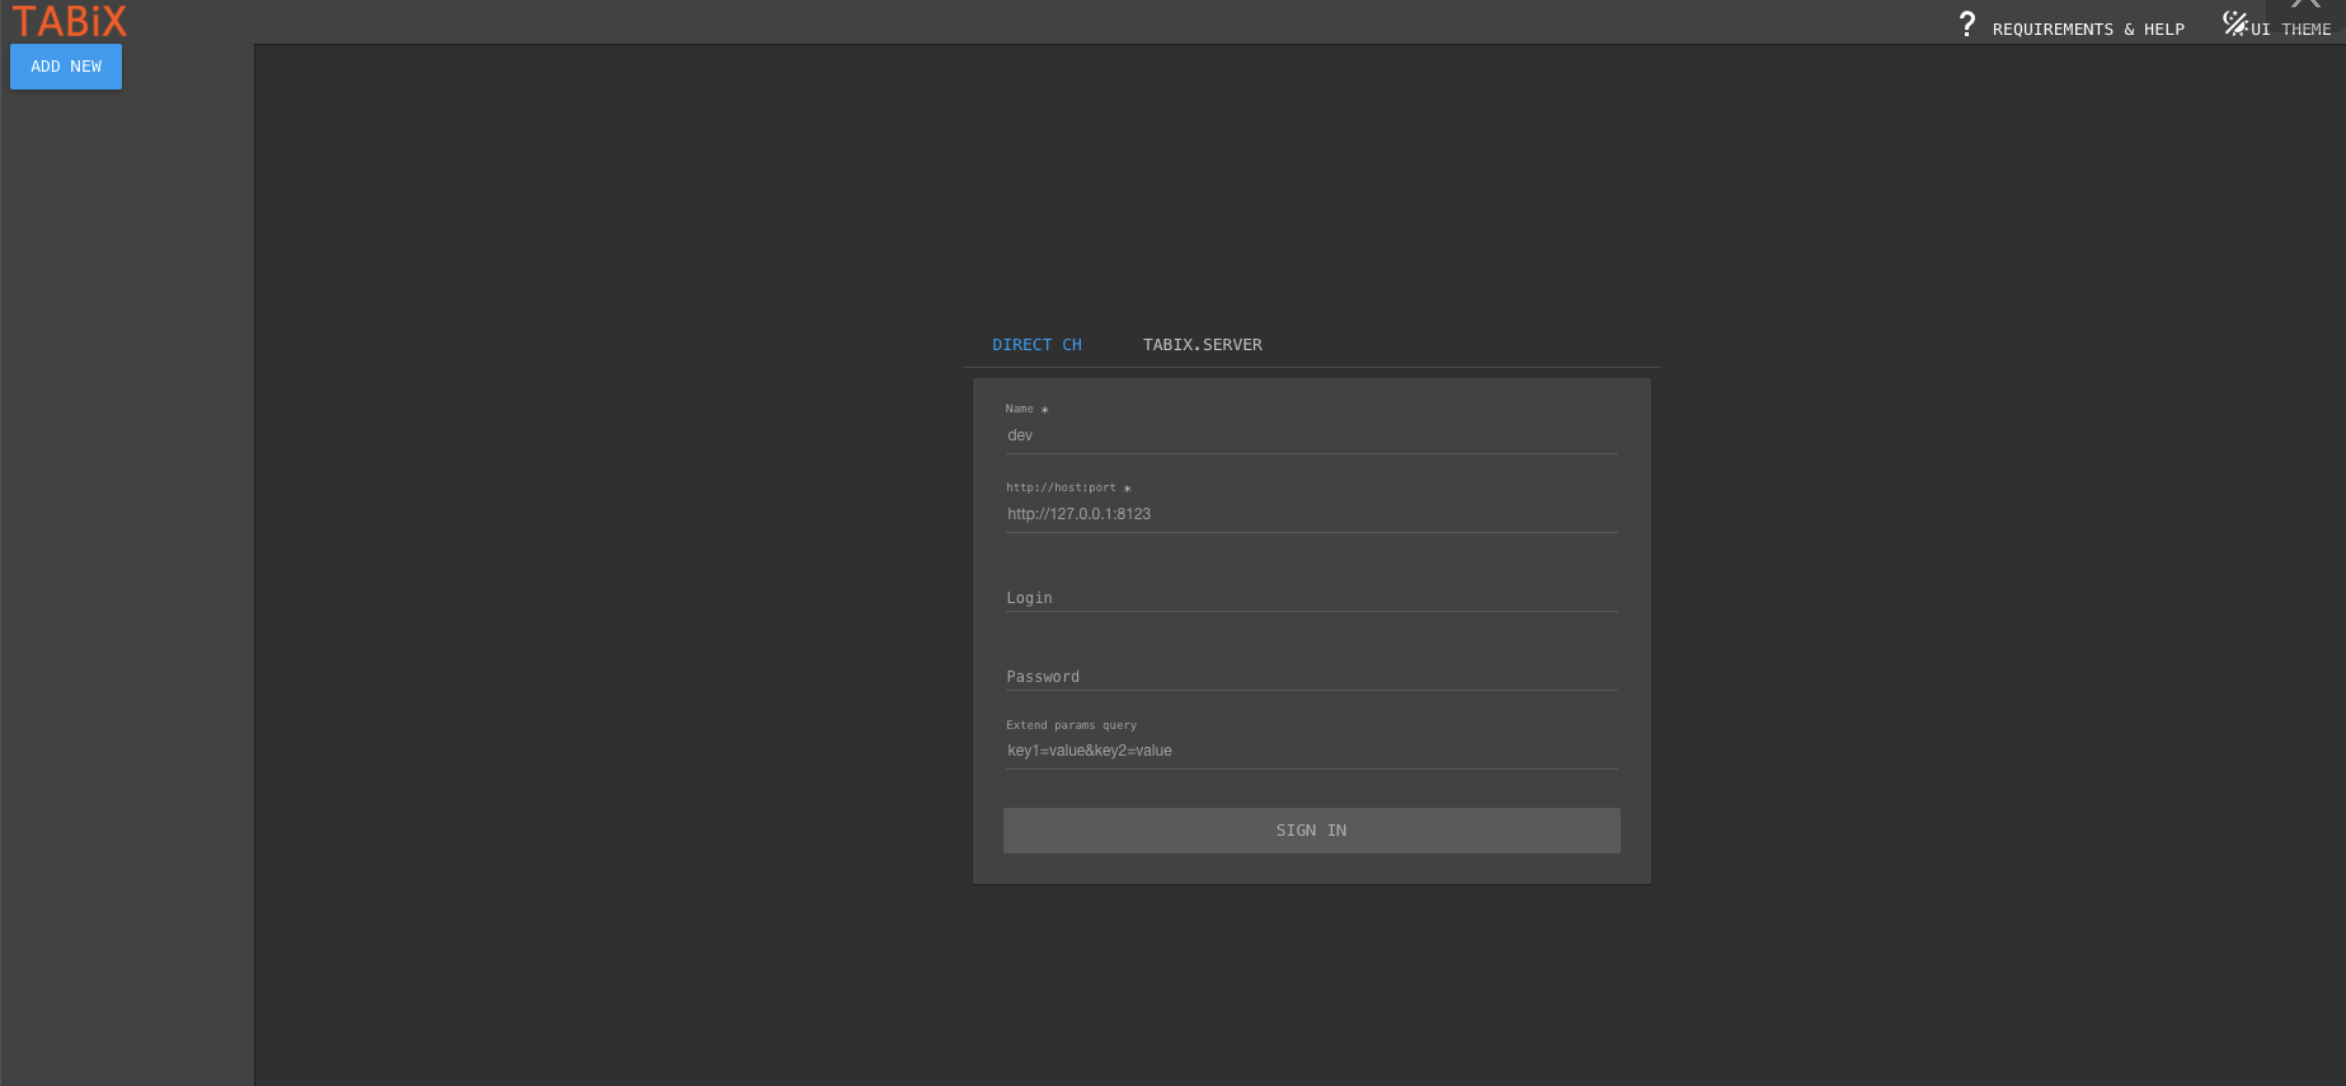
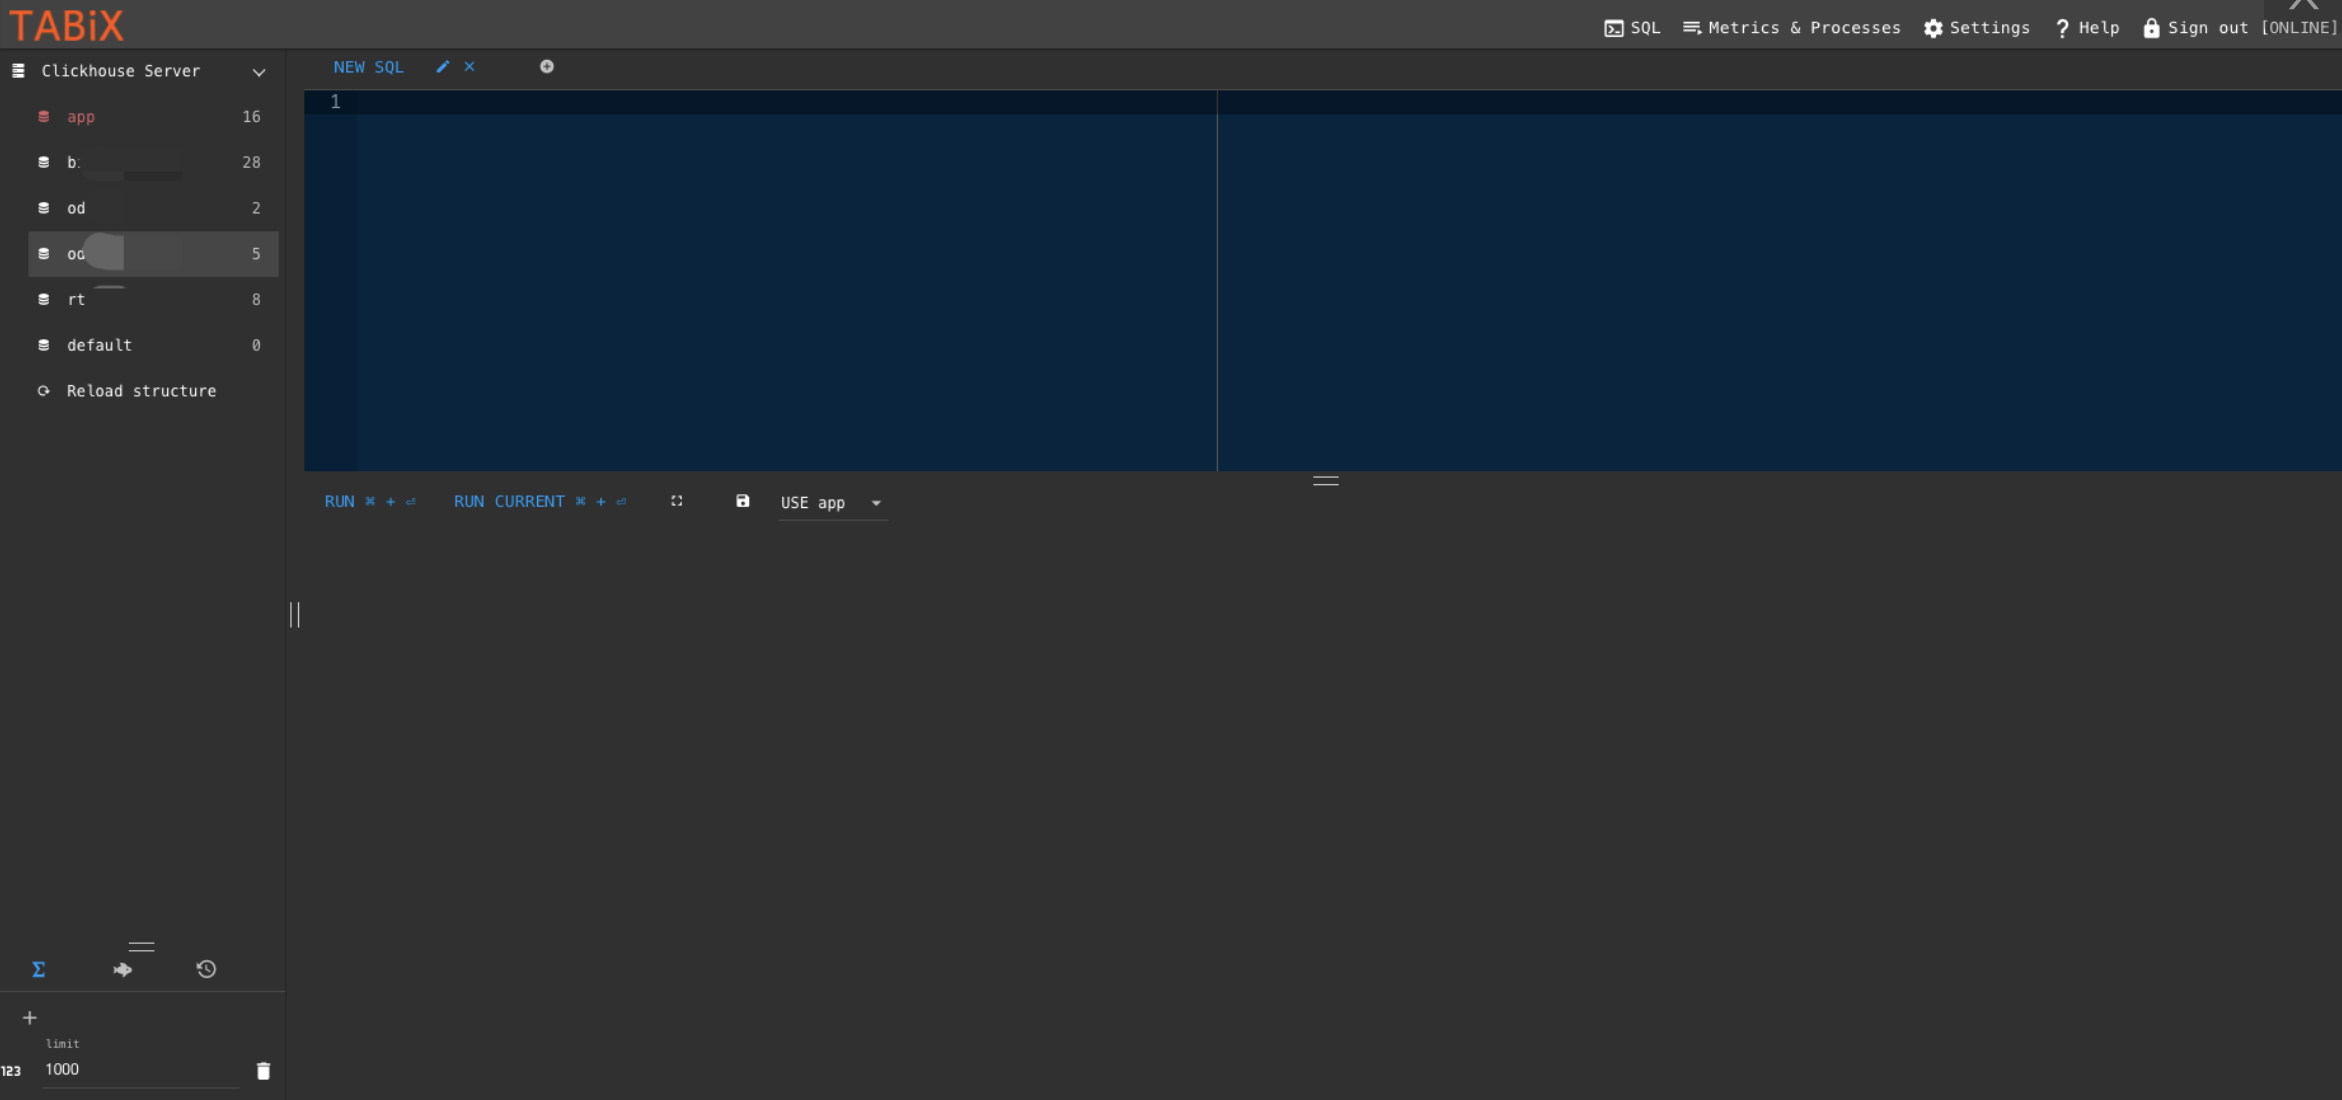
下载地址 https://github.com/tabixio/tabix/releases
参考文档 https://blog.csdn.net/qq_28603127/article/details/109281086
获取微信的昵称在存储到mysql中的的时候,总是报mysql Incorrect string value: \\xF0 for column 'nickName错误, 今天研究了一下。
先参考链接 中的内容。
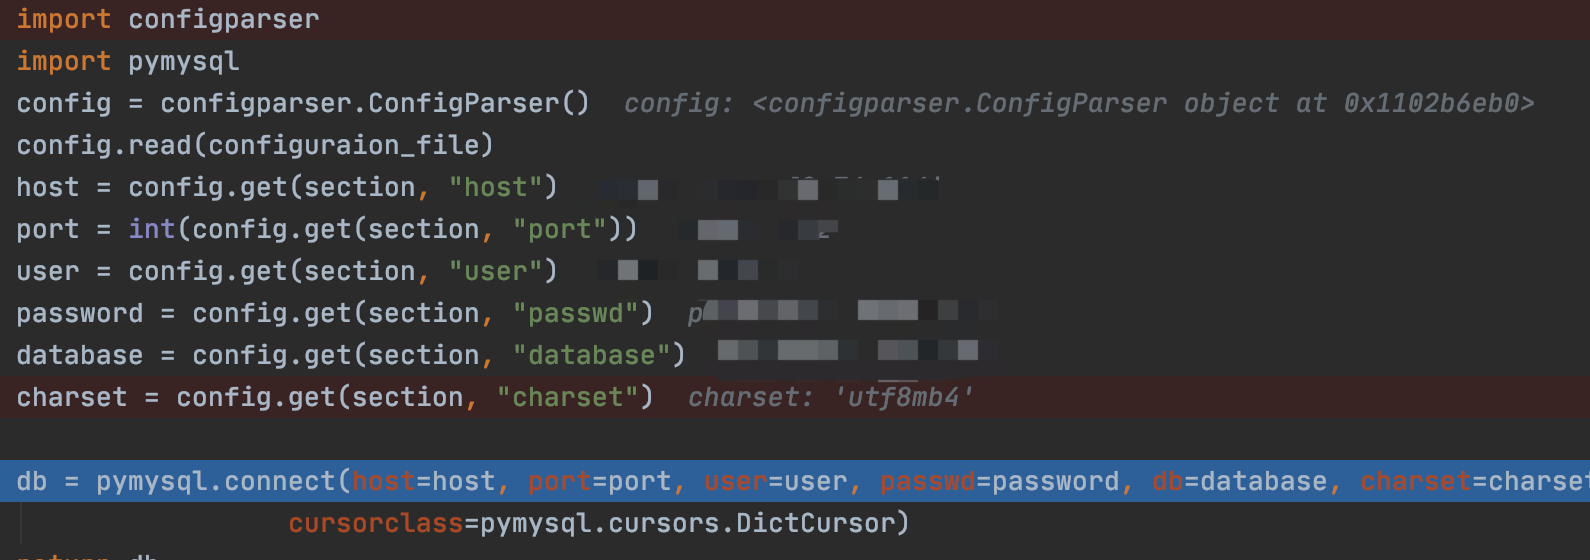
其实就是将nickName的字符集调成 utf8mb4,排序规则调成 utf8mb4_general_ci。
然后链接mysql的时候字符集设置成utf8mb4。如下
在Mac上安装最新的社区版IDEA的时候,出现以下报错1
2
3
4
5
6
7
8
9
10
11
12Internal error. Please refer to https://jb.gg/ide/critical-startup-errors
java.lang.NoSuchMethodError: 'com.intellij.ide.plugins.IdeaPluginDescriptorImpl[] com.intellij.ide.plugins.PluginManagerCore.loadDescriptors()'
at com.a.a.b.b.ar.a(ar.java:121)
at com.a.a.b.b.ar.a(ar.java:71)
at com.intellij.idea.MainImpl.start(MainImpl.java:19)
at com.intellij.idea.StartupUtil.startApp(StartupUtil.java:302)
at com.intellij.idea.StartupUtil.prepareApp(StartupUtil.java:242)
at com.intellij.ide.plugins.MainRunner.lambda$start$1(MainRunner.java:41)
at java.base/java.lang.Thread.run(Thread.java:834)
-----
Your JRE: 11.0.9.1+11-b1145.63 x86_64 (JetBrains s.r.o.)
/Applications/IntelliJ IDEA CE.app/Contents/jbr/Contents/Home
试了好几种解决办法,下边的一种办法倒是可以
I hit this same issue with OSX Catalina 10.14.6 when I upgraded from PycharmCE2019.3 to 2020.1. The fix was to remove the ~/Library/Application Support/JetBrains/PyCharmCE2020.1/plugins/marketplace directory and start Pycharm again. Works fine now.
每次看到类似的错误总会有一种莫名的恐慌,不是因为解决不了,而是刚开始的不知所措,真像是吃了苍蝇一样的难受。
遇到过很多次,每次解决完,都没有留下笔记可能错误比较低级,也完全忽略了,真是很无语啊。
今天又遇到这个错误,终于痛下决心记录下来,虽然错误很低级,解决很简单,但是不能保证又会神经错乱啊。
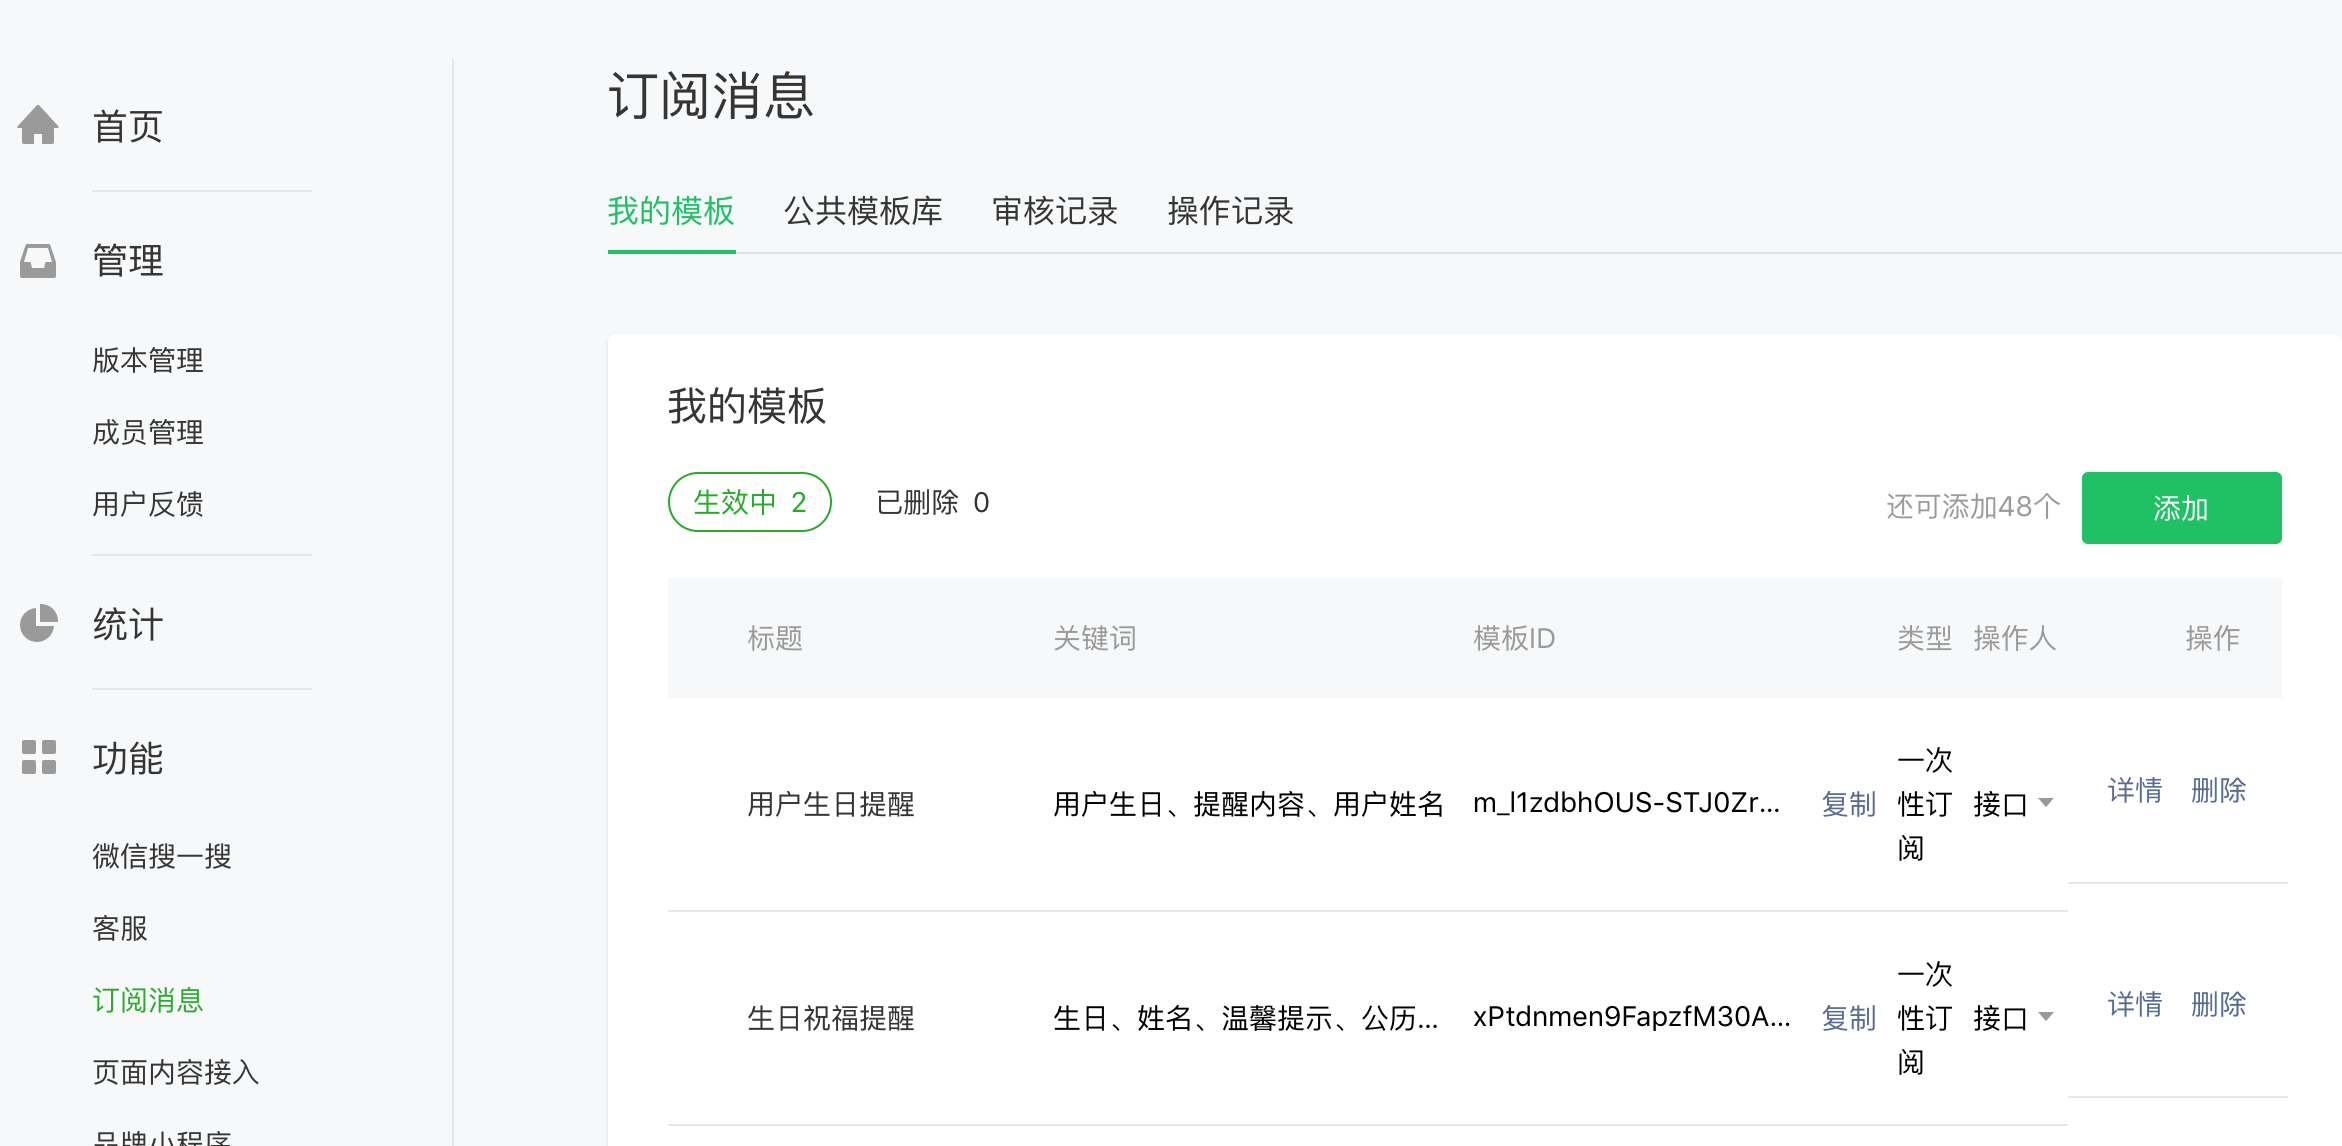
在微信公众平台手动配置获取模板 ID:
登录 https://mp.weixin.qq.com 获取模板,如果没有合适的模板,可以申请添加新模板,审核通过后可使用。