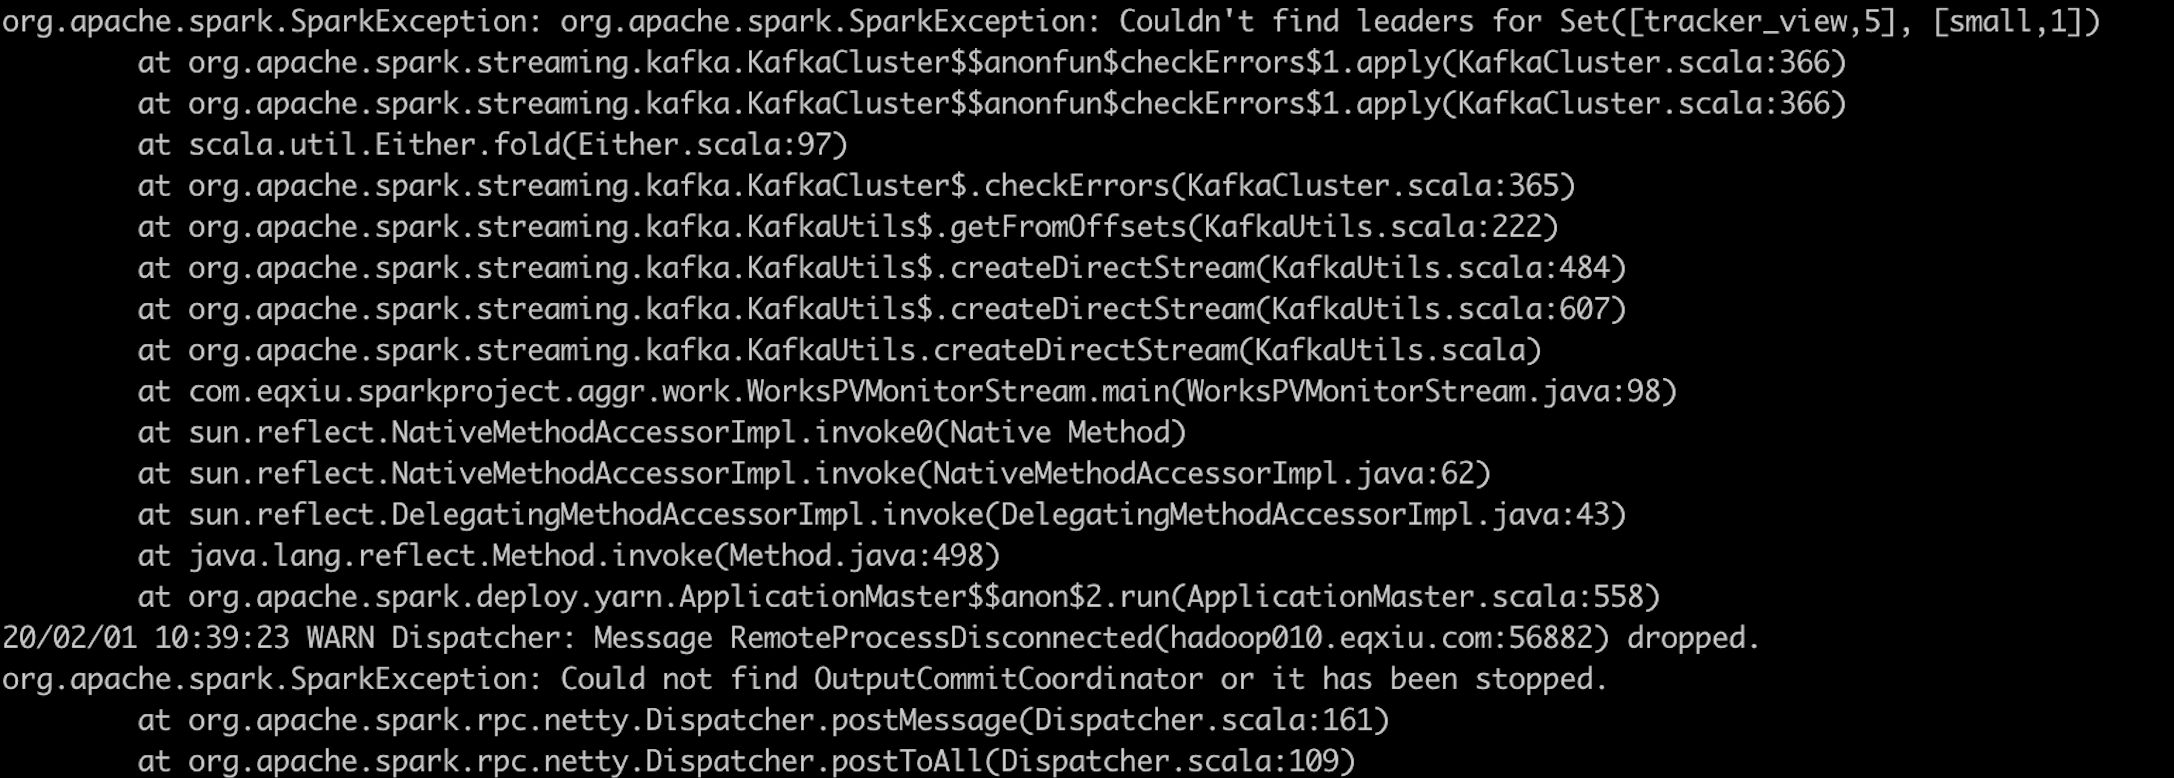
最近突然遇到大批量腾讯云服务器click offset报警错误。例:1
alert summary: ['The health of role NodeManager (hadoop0xx) has become bad.'] ,content: The health test result for NODE_MANAGER_HOST_HEALTH has become bad: The health of this role's host is bad. The following health tests are bad: clock offset.
其中前14台hadoop服务器没事儿,hadoop015-20台服务器频繁报警。
谷歌了一下,定位到时钟同步的问题。为了快速解决问题,直接hadoop015上的/etc/ntp.conf备份,又将hadoop001上的/etc/ntp.conf复制到hadoop015上。
观察了一会,发现服务器没有什么反应。然后查看ntp服务的状态1
service ntpd status
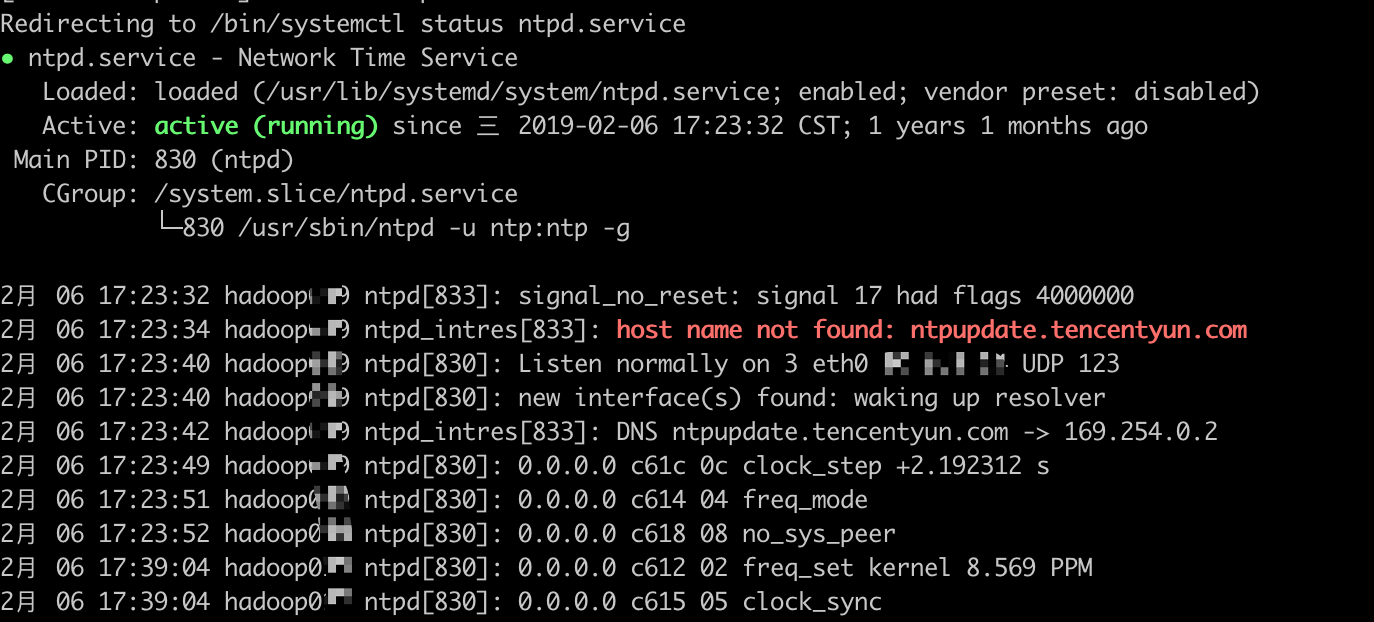
应该是设置没有生效1
2service ntpd stop
service ntpd start
过1分钟左右,刷新clouder manager的页面,发现hadoop015 agent服务状态已经正常。
同样的方法,将另外几台服务器的ntp服务配置也都改了一下。
过后检查了hadoop001上的/etc/ntp.xml文件,时间同步server配置的是 ntp.sjtu.edu.cn 也就是上海交通大学的,看来比腾讯自己的更靠谱啊。
下边两篇是非常有用的博文,请参考
https://blog.csdn.net/freedomboy319/article/details/46710255
https://segmentfault.com/a/1190000015682109