一 安装Apache
1.安装apache1
yum -y install httpd
2.安装apache扩展1
yum -y install httpd-manual mod_ssl mod_perl mod_auth_mysql
3.启动apache1
2
3
4
5
6
7service httpd start
(centos 7 请使用下面命令)
systemctl start httpd.service #启动apache
systemctl stop httpd.service #停止
systemctl restart httpd.service #重启
systemctl enable httpd.service #设置开机自启动
4.检查安装
如果80端口被占用,可能会出现如下的报错1
Job for httpd.service failed because the control process exited with error code. See "systemctl status httpd.service" and "journalctl -xe" for details.
这个时候,将/etc/httpd/conf/httpd.conf中的端口改成8123。
浏览器访问ip,安装成功,结果如下 http://localhost:8123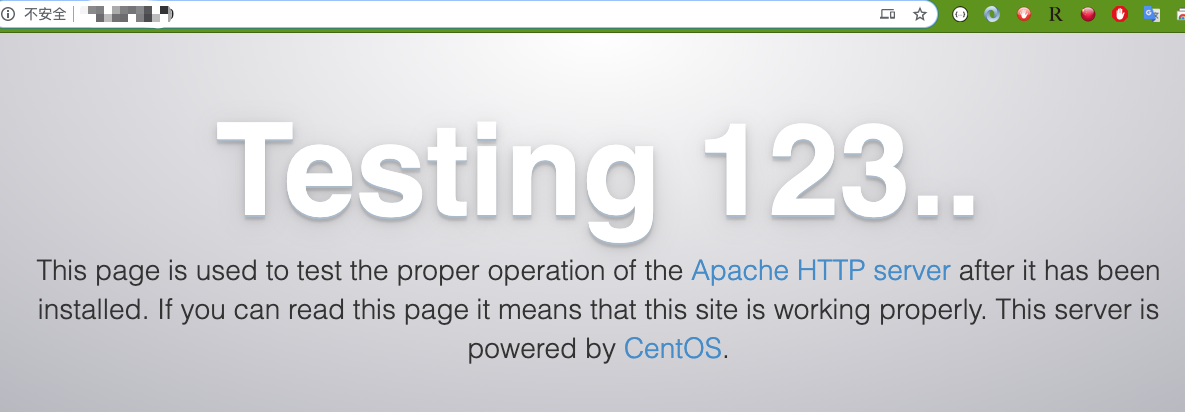
二 安装PHP
1、更换RPM源1
2
3
4
5
6
7
8
9#Centos 5.X:
rpm -Uvh http://mirror.webtatic.com/yum/el5/latest.rpm
#CentOs 6.x:
rpm -Uvh http://mirror.webtatic.com/yum/el6/latest.rpm
#CentOs 7.X:
rpm -Uvh https://mirror.webtatic.com/yum/el7/epel-release.rpm
rpm -Uvh https://mirror.webtatic.com/yum/el7/webtatic-release.rpm
2、安装新版本 PHP1
yum install php71w php71w-cli php71w-common php71w-devel php71w-embedded php71w-fpm php71w-gd php71w-mbstring php71w-mysqlnd php71w-opcache php71w-pdo php71w-xml php71w-ldap php71w-mcrypt
3、 重新启动相关服务1
2service php-fpm restart
service httpd restart
4、检查版本1
php -v

4、检查php是否和apache集成成功1
2
3cd /var/www/html/
touch v.php
vim v.php
写入一下内容1
2
3
4
echo '<title>hello world</title>';
phpinfo();
保存,退出
重启相关服务1
2service php-fpm restart
service httpd restart
在浏览器中输入 http://localhost/v.php ,回车后显示如下页面,说明配置没有问题

三 安装phpMyAdmin
1、下载phpMyAdmin并解压至/var/www/html/目录下

2、重启相关服务1
2service php-fpm restart
service httpd restart
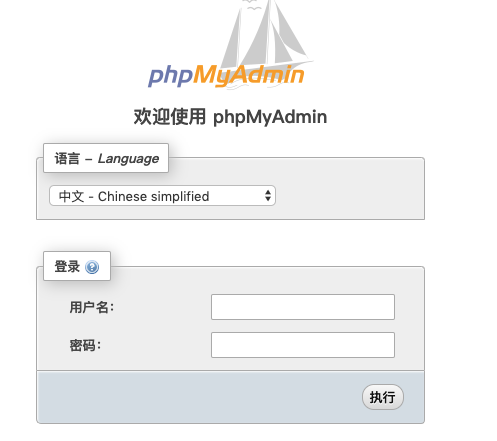
3、在浏览器中输入http://localhost/phpmyadmin/ , 回车之后应该就会显示登录页面